How To Record Vinyl To Your Computer
As you know, vinyl records have made a massive comeback over the last few years, and for good reason. It’s not just that beautiful analog sound we all long for, but also the feeling you get putting the needle to the record, the aesthetic look, the gorgeous album artwork, and the texture of those inner sleeves that is so appealing.
Plus, there’s always the invaluable joy of having a vinyl collection in your studio, lounge or music room.
As good as the quality of the best digital formats is, there’s something about playing a record on a good turntable or record player that you just can’t beat.
But sometimes you just don’t have the convenience of a record player available.
So what do you do when you’re on the move, or otherwise without your vinyl collection, and want something digital and easily accessible? Well, you could buy the same album again, but who wants to do that? If you’re on a streaming service you might have it covered. But even then, sometimes older recordings haven’t yet made the conversion to a digital file.
That’s when it becomes essential to know how to digitise your vinyl and record them straight to your computer. It’s not as simple as dragging an MP3 from a CD to your computer and takes a little bit more effort – especially if you want to avoid unnecessary digital distortion or corrupt files. But the results can be worth it in the end!

What Do You Need?
Turntable or Record Player
It might be obvious, but you’ll need a way to play your records to start with. It doesn’t matter whether you’re using a DJ turntable, or a simple record player, either will do the job!
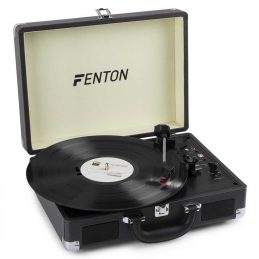
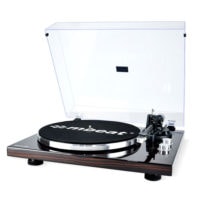
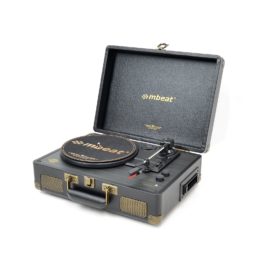
Thankfully, these days you can find high-quality record players that are incredibly affordable from brands such as Fenton, Audizio, and mBeat.
Many of these options also feature a convenient USB output option which will make it significantly easier to convert your vinyl to MP3 on your computer. Others also offer built-in speakers and Bluetooth connectivity for streaming wirelessly to your speakers.
-
 Free Shipping$189
Fenton RP162 Vinyl Record Player Bluetooth w/ Speakers (Walnut Wood)
-
 Free Shipping$69
Fenton RP105 Vinyl Record Player with Built-in Speakers
-
 Free Shipping$179
Fenton RP165 Vinyl Record Player Set Bluetooth w/ Speakers (Wood)
-
 Free Shipping$89
Fenton RP115B Record Player with BT and Vinyl Briefcase (Dark Wood)
Will you need an audio interface?
Do you need an audio interface to record vinyl to MP3 audio files on your computer? In most cases, no. Typically, you’ll find your record player is already equipped with a USB output and a built-in interface so you can connect directly to your computer.
However, if you’re getting into DJing, music production, or any kind of professional audio application, it’s something you’re probably going to want to get if you don’t have one already. Audio interfaces ensure the best audio quality possible and act as the brain for your studio setup.
For more information on what an audio interface is and choosing the best one, check out our guide here: The Best Audio Interfaces
Recording Software
Now you’ve got the vinyl records you want to convert to digital files, and you’ve got the record player: You’re also going to need some recording software.
If you are on an Apple Mac laptop, you’ll already have access to Garageband which is a recording program you can use. But for an easier recording solution that’s completely free and will work on both Mac and PC, Audacity is your friend!
With a simple audio interface, Audacity offers everything you need to easily record your vinyl to MP3. But this recording software also offers enough features to empower you to do some cleaning up to your recordings as well, if needed.
Recording Your Vinyl
1.First, you’re going to want to connect your record player to your computer. In most cases, it will be as simple as connecting the USB cable to the USB port on your computer.
2. Once you’ve done that, open up Audacity and create a new track for recording.
3. Now, before you hit record you’re going to want to double-check a few things. Firstly, you’ll want to make sure your input device is set for your record player or USB port.
4. It’s also a good idea to test play your record and check the levels before you record. You’ll want to make sure that it’s not going into the red zone or clipping to ensure you get the best sound quality. If it is, then turn down the volume or gain knob on your turntable until it’s sitting at a nice spot. Otherwise, you’re going to get some unwanted distortion and you’re not going to get anywhere near the sound quality that is achievable or wanted in your recording.
5. Once things are looking and sounding good, hit the record button, play through your track, and hit stop recording when you’re done.
6. Then, to save your recording track as an MP3 audio file, just hit File > Export to MP3.
-
 Free ShippingOriginal price was: $329.$269Current price is: $269.
MBeat PT-18K Bluetooth Turntable Player
-
 Free ShippingOriginal price was: $138.$124Current price is: $124.
mBeat Uptown Retro BT Turntable – MB-TR166BLK
-
 Free ShippingOriginal price was: $319.$283Current price is: $283.
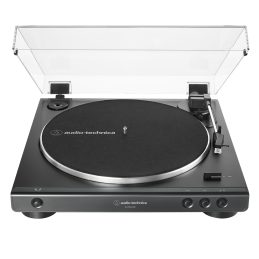
Audio Technica LP60X-USB Turntable – Black
-
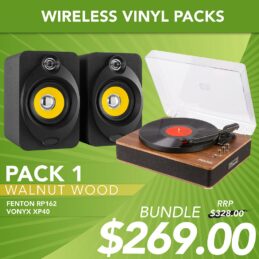
Wireless Vinyl Pack 1 – Fenton RP162 + Vonyx XP40 BT Speakers
Separating Songs Into Individual Tracks
The recording method we just covered is a quick way to record and save one song from a record. But what if you want to record the whole album as individual tracks? The most efficient way to do that is to record the whole side of an album, edit, and then save them as individual tracks.
Editing Audio
In Audacity, chopping up and editing your audio is incredibly easy and you definitely don’t need to be an expert to learn how. Once you’ve recorded the whole side of your record, you should easily be able to distinguish the start and end of each track just by looking at the waveforms.
From there, the easiest way is to highlight and select each song, copy it, then paste it into a new file, and export it to MP3 from there. Continue doing this for each track on your record.
Recording Exporting Tips
- By exporting to a file type such as WAV, you’re not going to get the compression you will on an MP3. So your audio files may sound slightly better, although you’ll have to sacrifice the small file size in the meantime.
- MP3s optimise and compress the large file size. They also allow for storing ID3 tag info such as Artist, Title, Label, Track Number, Compose, Year, etc. Whereas WAV files do not allow for this.
- When exporting to MP3, we recommend using 320 kbps for that DJ Quality. For more info on the best file types for DJs check out our blog post here.
Ready to Start Digitising Your Record Collection? DJ City is here to help
Did you know that DJ City is one of the largest stockists of digital DJing equipment and hardware? But we’re not just retailers – we’re fellow music enthusiasts too!
That’s why our customers turn to us for our expertise in all things DJing, music production, recording and more.
So whether you’re after a USB turntable, not sure how to separate tracks in your recording, or just want to find out more about how to start recording your vinyls, get in touch with our team today.