Compressions: Everything a DJ Needs to Know
Working as a DJ entails using a variety of different musical tools and techniques to create original sounds, mixes, and tracks. Compressions are one of those very important and increasingly popular tools that can be used to effectively enhance a musical track.
However, unlike adjusting the pitch or tempo, the effects of compressions can be hard to identify and know how to use it properly in the production of your music can really separate the pros from the amateurs.
In this guide, we’ll introduce you to the what, when, where why and how of compression in music and DJing.

Compression – An Introduction
The term compression refers to the reduction in the dynamic range of a piece of audio.
If the music exceeds a pre-specified level, the compression will reduce the audio range to the set parameters.
In other words, when a track is compressed, there is less of a difference between the parts of the track that are loudest and the parts that are softest. Overall, the track is more consistent in sound.
It is possible to manually compress a track–simply by dragging the loud parts down and lifting the soft parts up–but to save time and ensure consistency automated compression tools are absolutely preferred. Apart from saving time, automated tools can help to create certain unique sounds and effects that a manual job can’t replicate in the same way.
Apart from ensuring your track doesn’t get clipped, compression is important for ensuring your audio sounds as polished as possible with consistent and controlled maximum/minimum levels.

Upward Compression
Upward compression refers to increasing the audio level on a section of the track that is too soft.
Downward Compression
Unsurprisingly, downward compression is the exact opposite. It’s about reducing the louder part of the track to lower levels.
Setting Up a Compressor

Step 1 – Apply/Insert
Compressors can come either in the form of a piece of hardware that needs to be inserted or a software plugin that needs to be applied. Either way, make sure that you have identified the channel you’re looking to compress and either apply or insert the compressor respectively.
Step 2 – Set the Threshold
The next step is to adjust the threshold to the level that you’re after. When the audio’s peaks and troughs are pushing past the threshold the compressor will be engaged accordingly.
Step 3 – Set the Ratio
The ratio you choose will depend largely on the track in question. For example, bass guitars require a greater ratio than drums or vocals. You can and should play around with both the set threshold and the chosen ratio to see how they work (or don’t work) together for peak effectiveness.
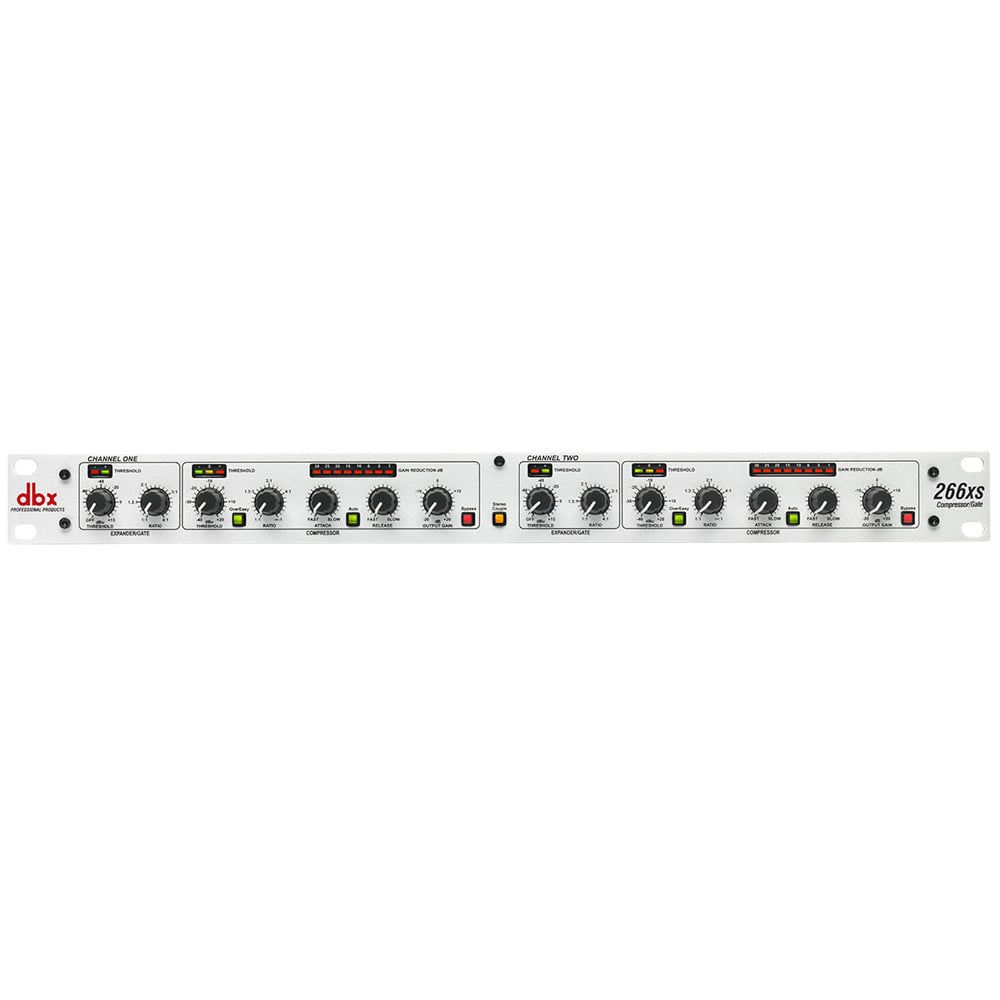

Step 4 – Attack and Release
Next, it’s time to play around a bit. The attack and release controls influence the way in which the compressor reacts to the audio. While both short and long releases have their benefits (short releases can be distinctive while long releases often sound more subtle) the right balance for you will depend on what you’re trying to achieve.

Step 5 – Other Controls
Last but not least comes a variety of other controls that you can play and mix with. These include the make-up gain and output, the hard or soft knee and more. Some compressor plugins even allow you to enable a time delay feature to get a sneak peek at upcoming parts of the track. This means you can compress your audio in the smoothest and most natural way possible.
Ultimately, the way in which you set up and use compressors is up to you. While we’ll go further into how to use it effectively, the rules in DJing were made to be broken. If your methodology and tools fix the track and sound you’re going for, and you use it sparingly and with consideration, there’s no wrong or right way to go about it.
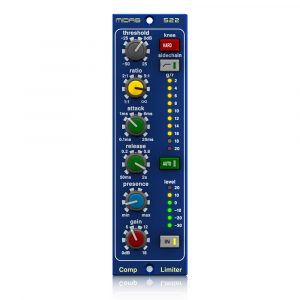
A Guide on How to Use Compressors

Threshold
The threshold is probably the easiest part of compressors to master. It simply helps you control the volume of the signal in your audio and set the parameters around which the compression occurs.
Thresholds are determined with the unit decibels (dB). Play around with different parts of your track to find the right threshold and the right part or instrument sound in the song in question that needs compression.
Ratio
The ratio refers to the amount of compression applied to any piece of audio. It sets the rule for how many decibels the audio signal will have to exceed the threshold before the volume is increased or decreased.
Take a ratio of 2:1 for example, which would be typical for applying to vocals. With this ratio, the vocal would exceed the pre-set threshold by 2 dB for the volume to be then increased by 1 dB. Compressors work automatically by detecting when the signal crosses the threshold, according to the ratio, and then adjusting the level, again as determined by the ratio.
Limiters can be used for ratios of 10:1 or more and act by enforcing a strict ‘ceiling’ to stop any signal from exceeding that threshold.
Attack and Release
The term “attack” in compressors refers to just how fast the compression is applied and takes effect. The term “release” refers to the speed with which the compressor then stops once the signal is back beneath (or above) the threshold.
Both measurements are determined to the millisecond, so the differences can be quite slight and subtle.

Knee
Hard knees and soft knees are yet another way in which you can adjust the application of your compressor.
In essence, the knee determines how the compressor engages with the threshold-passing signal. Hard knees mean that the compressor will ‘clamp’ straight away on the signal. Soft knees, by contrast, allow for a more gradual compression.
Generally, knee levels are determined by values ranging from 0.0 to 1.0, with 0.0 being the hard knee and 1.0 being the soft knee with gradual levels in between.
Knees are generally used in conjunction with the attack and release function and while you can play around with the different features, most often fast attacks and releases work best with hard knees and slower attacks and releases suit soft knees.

Make-up Gain
As you can imagine, compression often reduces the level of at least certain parts of a track. This can be effective and important for ensuring level consistency but for some DJs they lose the overall volume they’re looking for in their music.
Hence, make-up gain. This enables you to utilise a compression tool and make the track louder. The make-up gain compensates for the loss in volume level without losing your compression of the peaks and troughs of the track or risking the possibility of audio clipping.
Output
Adjusting the output level of the track simply allows you to control the level of signal output you want from the compressor.

Come Press Us with Your Compression Queries!
Here at DJ City, we live and breathe all things music and DJing. If you’re looking for more information about how to get set up with or use compression to great effect in your music, we’re always here to help. We’re also Australia’s largest superstore for DJ, lighting and sound equipment so no matter what you’re after, we can help. Find out more or contact us today.