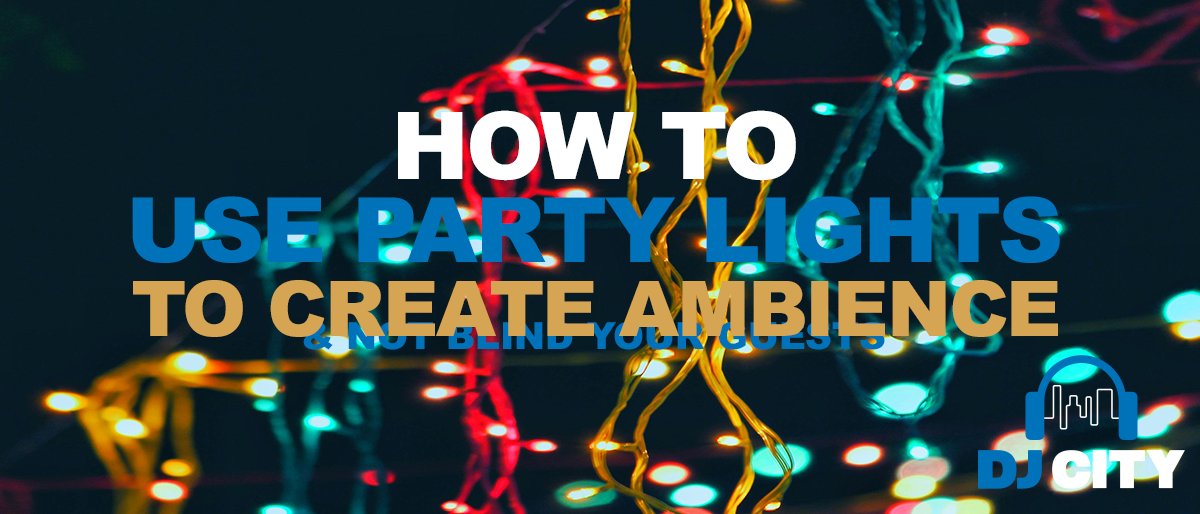
What Is DMX? Essential Guide for DJs Controlling Lighting & Effects
Being a DJ requires you to learn many skills in the mixing, creation and production of music and also when it comes to general gig performance, party management and event hosting. DMX, and by extension, DMX controllers, play an important role here.
DMX, which stands for digital multiplex, is a protocol which allows one to control various machinery, equipment or devices, for example lighting and (for some DMX protocols) fog machines and the like. To help you, this guide will introduce you to everything you need to know to get started with the basics of DMX.
Introduction to DMX Controllers
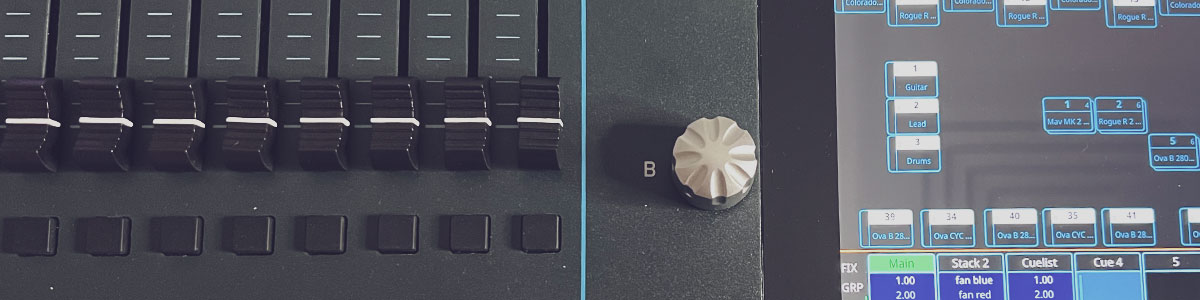
A DMX Controller allows you to efficiently change the controls on your various lighting equipment and in some instances other devices.
Using a Controller, you’ll be able to pre-program your lighting as well as have total control throughout your gig or performance. Whether you want to enable the strobe lighting, change the colour of the LEDs or adjust the level of dimness/brightness, your DMX Controller puts you in the pilot seat.


How does it work?
The DMX protocol sends out a unidirectional signal from the Controller to the lighting equipment. Any device that is compatible with DMX uses pre-installed modes that can be utilised for connecting different DMX fixtures into a synced up group.
DMX Fixtures
The term DMX fixture simply refers to the light, device or group of lights/devices that are assigned to one particular mode, or channel. To find out what modes your lighting device uses, check the user manual. Each mode offers different functionalities.
DMX Channels
Within the DMX Universe, there are 512 separate and individual channels. These channels are then assigned to control different sets of parameters through which you can affect the lighting. For example, one channel can be assigned to control the colour of the lights or the strobing effect. Within each channel are data values ranging from 0 to 255, which determines the intensity of any particular parameter.
DMX Personality
The term ‘Personality’ refers to the assigned parameters for any given channel. In other words, each DMX Fixture is assigned to a Channel, and each Channel is set with a Personality i.e. a set of parameters for controlling the device.
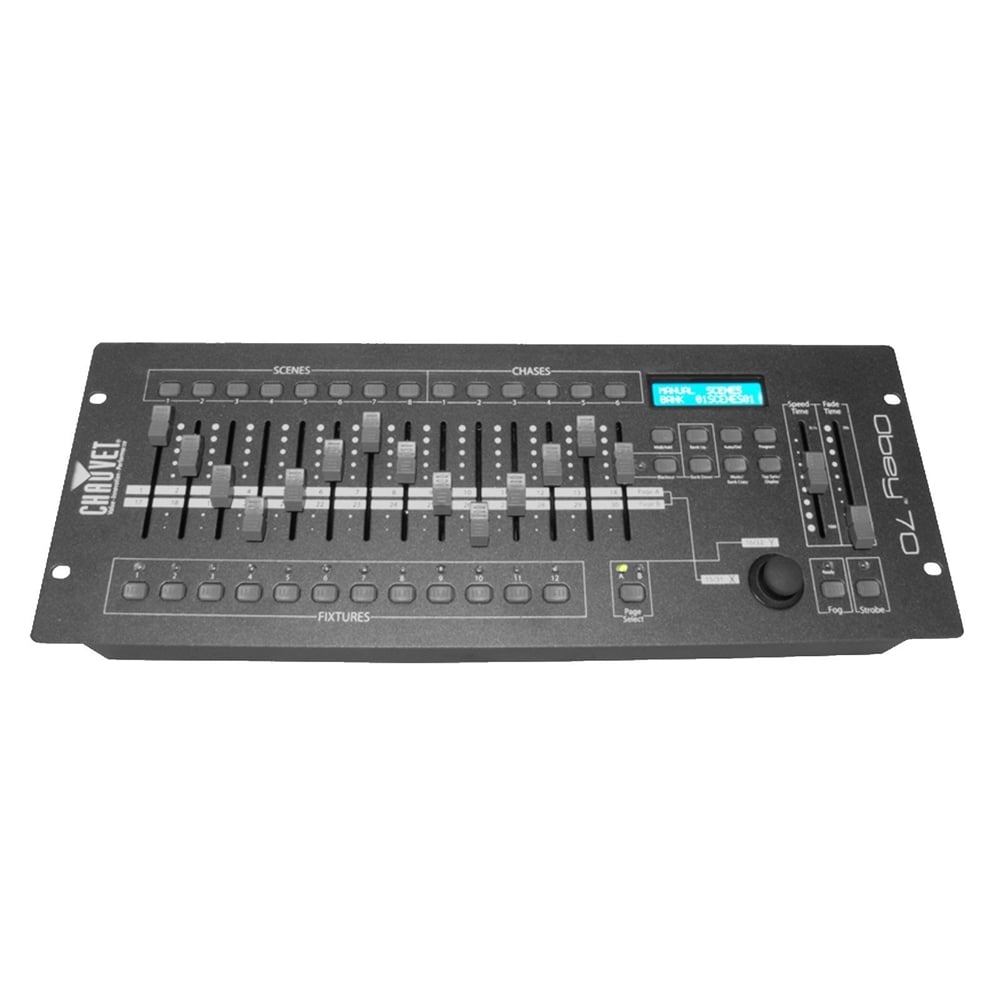
Setting DMX Controllers
DMX Scenes
When it comes to getting your DMX Controller setup, each setting can be then saved in the Controller as a Scene. This allows you to easily utilise any particular settings to repeat a desired effect.
DMX Chases
The DMX Chase is the sequence of chosen and played Scenes.

How to Set Up Your DMX Controller
To start assigning fixtures of various DMX-compatible devices on your DMX Controller you will need to identify the starting address, or the channel that the protocol is being sent out on.
Let’s use an example to make things easier: We’ll work with the standard DMX Controller that has 16 channels. With 512 channels available in the Universe, that means that there are 32 Fixtures that are assignable.
Fixture 1 will therefore contain the first 16 sequential channels, with Fixture 2 containing the next 16 (from 17 to 23) etc.
Setting up your DMX Addresses
Step 1 – Read the User Manual
Each DMX Controller will be slightly different and have a specified number of channels that it uses. Your manual will tell you how many channels the Controller has. You need to know this so that you know how many channels you have to play with.
Step 2 – DMX Mode
Make sure that your fixtures are put in DMX mode. Sometimes, especially with newer models and certain manufacturers/brands, it may switch to DMX mode automatically if it receives a signal. But make sure to check this just in case when you’re setting up.
Step 3 – Set up the Addresses
When you set up your addresses make sure that the channels do not overlap. While the order of your fixtures doesn’t really matter, it’s always most practical to simply work sequentially through the available channels/addresses.
Modern Controllers often allow you to use a screen, menu and buttons to find the right address, and there are even many smartphone apps to help you as well. But if you are using an older device, you may have to use the dip switch. The dip switch is a feature that uses binary code to tell you the address. Each switch that is turned on corresponds to a value, and the sum of those values gives you the DMX address.
For example, if the dip switches for 3, 5 and 6 are on, the corresponding values (4, 16 and 32) all add up to the DMX address of 52.
To help you out, here’s a simple table for you to use when working out what the dip switch means.
| DIP SWITCH | VALUES WHEN ON |
| 1 | 1 |
| 2 | 2 |
| 3 | 4 |
| 4 | 8 |
| 5 | 16 |
| 6 | 32 |
| 7 | 64 |
| 8 | 128 |
| 9 | 256 |
Step 4 – Save the Address
Make sure to save your address by pressing the corresponding Fixture button. Carrying on from our example above, once you have saved the addresses when you want to control the first light you can then press the Fixture 1 button (assigned to channels 1 to 16) and for the second light Fixture 2 (assigned to channels 17 to 32) and so on….
You can manually change the fixture buttons so that instead of Fixture 1 being assigned to channels 1 to 16, it can end at Channel 4. To do this, you will need to refer to the specific user manual of your controller.
Reducing Signal Bounce Back
Some lighting rigs, especially the long and complicated ones, can be at risk of receiving a bounce back of the DMX signal. This shadow signal can be prevented by connecting what is known as a DMX terminator to the last fixture’s output.
Reference Sheets
When you’re setting up your DMX Controller and assigning fixtures, it can get a bit confusing and overwhelming to keep track of everything. Some DJs like to use a channel reference sheet to map out all 512 channels in the DMX Universe. This reference sheet is simply a table of all 512 channels with each box (or channel) marked or highlighted in some easily identifiable way.
You can create a little key identifying the fixture numbers, channel groups and your chosen symbol/highlighter colour accordingly. There are plenty of reference sheets that are downloadable online or you can custom make your own.

Using Your DMX Controller
Individual Lights
If you’re wanting to control just one individual light, then you will need to use your Controller to select the right lighting mode and find the correct starting address to which to assign it. You can repeat this process with as many different individual lights as you want and then play around with creating a series of different lighting effects.


Light Groupings
If you’re looking to control multiple lights or fixtures at the same time, then you need to assign them to the same starting address. While this means you won’t be able to make individual lights change independently, using control fixtures for a group of lights can be very effective if your gig is being held outside or in a large venue.
DMX Interfaces
Along with the rest of technology, DMX Controllers have evolved over time. Nowadays, there are many new interfaces that allow you to connect and control your DMX-compatible devices through a laptop, tablet or even smartphone. While the general theory remains the same, you can download fixture profiles from online, enable automatic addressing and even use your keyboard to control your lighting.
Find the right DMX Controller at DJ City
If you need any additional help understanding everything there is to know about DMX Controllers, Fixtures, Channels, Addresses and the Universe, the team at DJ City are always here to help.
Plus, with our range of available DMX controllers for purchase, you can find the right device to start controlling your lights and creating the party you always dreamed of.